Usage Notes (GUI)
The BIDS Format
DeepPrep is able to end-to-end preprocess anatomical and functional MRI data for different data size ranging from a single participant to a HUGE dataset. It is also flexible to run the anatomical part or functional part that requires a complete Recon folder to be specified. The DeepPrep workflow takes the directory of the dataset that is to be processed as the input, which is required to be in the valid BIDS format. It is highly recommended that you validate your dataset with this free, online BIDS Validator.
For more information about BIDS and BIDS-Apps, please check the NiPreps portal.
The FreeSurfer License
DeepPrep uses FreeSurfer tools and thus requires a valid license.
To obtain a FreeSurfer license, simply register for free at https://surfer.nmr.mgh.harvard.edu/registration.html.
Please make sure that a valid license file is passed into DeepPrep.
For example, if the license is stored in the $HOME/freesurfer/license.txt file on
the host system, the <fs_license_file> in command -v <fs_license_file>:/fs_license.txt should be replaced with the valid path:
$ -v $HOME/freesurfer/license.txt:/fs_license.txt
.
GUI User Guide
Note
For the sake of simplicity in usage, DeepPre has released three GUIs: Preprocessing, Postprocessing, and Quick QC.
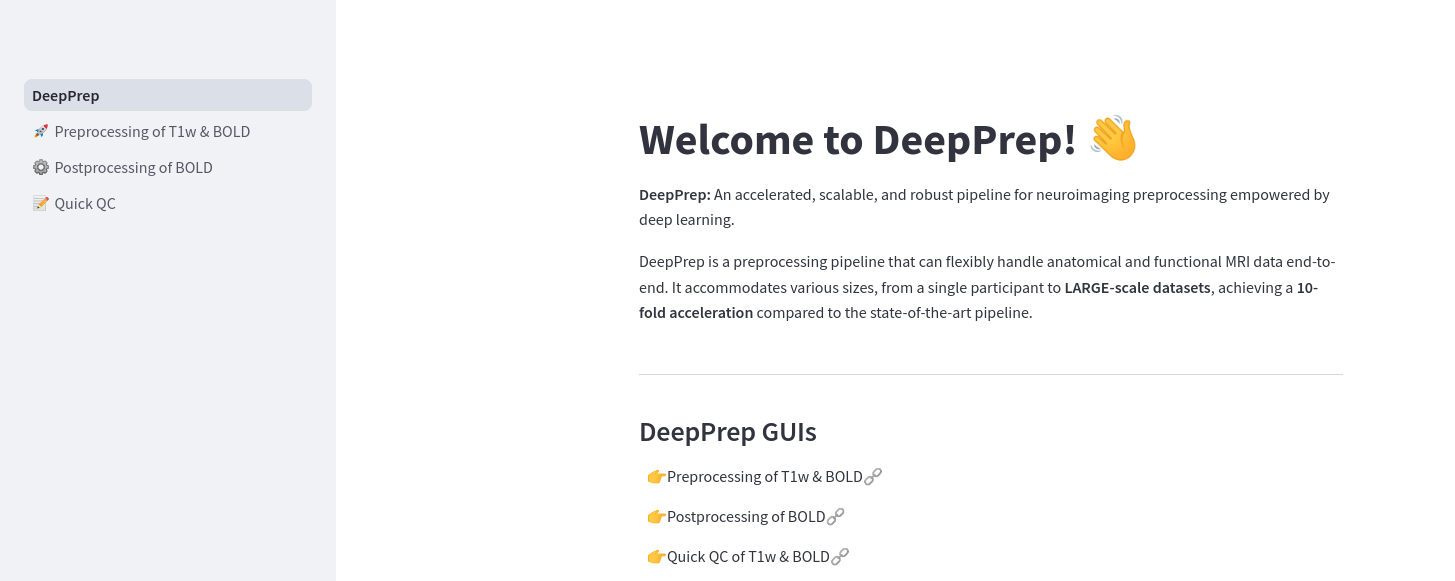
Welcome to the DeepPrep Graph User Interface (GUI)!
We now provide our users with a user-friendly GUI to run:
Preprocessing pipelines for T1-weighted (T1w) and BOLD images.
The subsequent BOLD postprocessing steps include bandpass filtering, regression, and optional smoothing.
A quick QC report to visualize the results!
Quick Start
Step 1: Set up work directory.
export DEEPPREP_WORKDIR=<path>
Step 2: Run the docker command
#  GPU
sudo docker run -it --rm --user $(id -u):$(id -g) --gpus all -v $DEEPPREP_WORKDIR:$DEEPPREP_WORKDIR -p 8501:8501 registry.cn-beijing.aliyuncs.com/pbfslab/deepprep:25.1.0.beta.1

#  CPU
sudo docker run -it --rm --user $(id -u):$(id -g) -v $DEEPPREP_WORKDIR:$DEEPPREP_WORKDIR -p 8501:8501 registry.cn-beijing.aliyuncs.com/pbfslab/deepprep:25.1.0.beta.1
Step 3: Start the GUI website
Enter http://localhost:8501 in the browser.
Upon launching, you will see the main interface.
Tips
The red block indicates an input error.
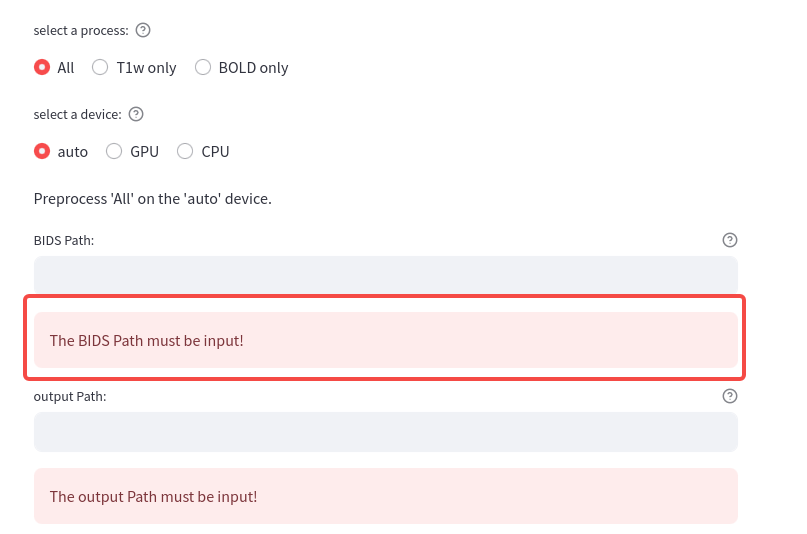
Once the input is entered correctly, the red block will disappear.
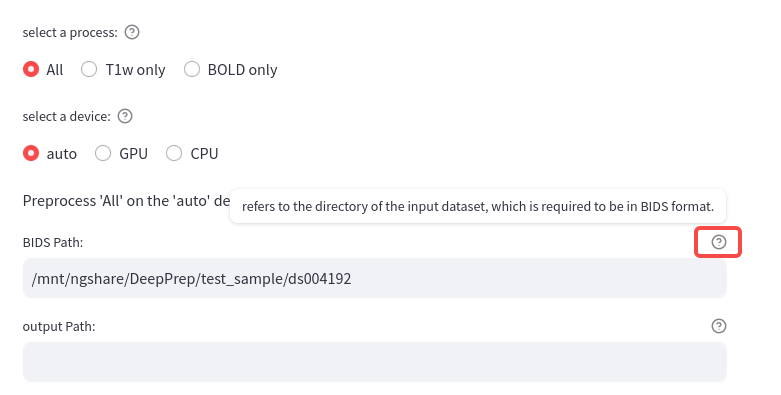
The small question mark explains the input requirements.
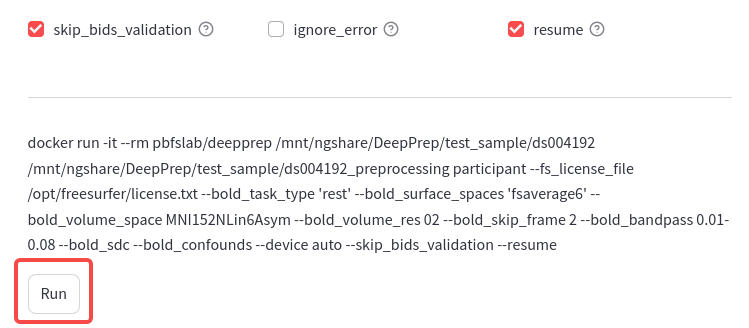
The Run button will become clickable once all inputs are entered correctly.
Preprocessing of T1w & BOLD
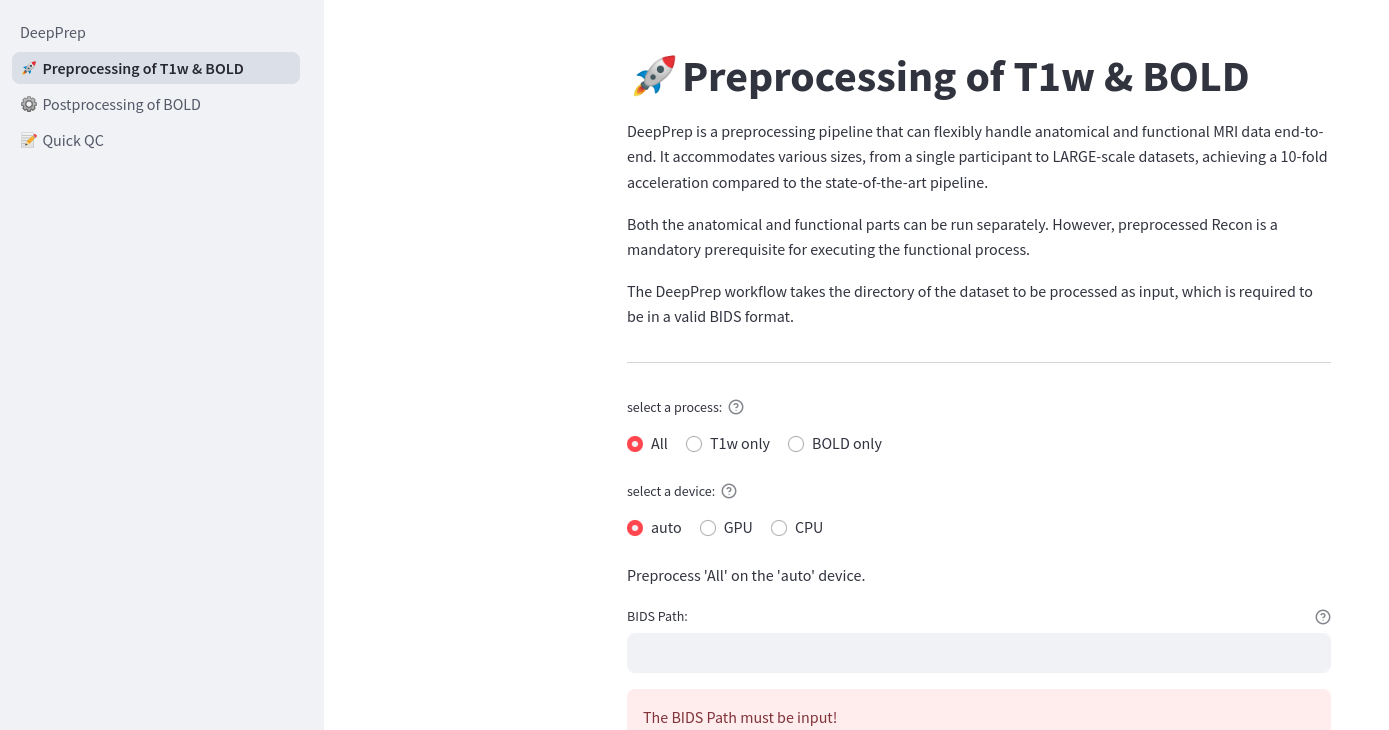
DeepPrep is a preprocessing pipeline that can flexibly handle anatomical and functional MRI data end-to-end, accommodating various sizes from a single participant to LARGE datasets. Both the anatomical and functional parts can be run separately. However, preprocessed Recon is a mandatory prerequisite for executing the functional process. The DeepPrep workflow takes the directory of the dataset to be processed as input, which is required to be in a valid BIDS format.
Main Interface Overview
Upon launching, you will see the main interface.
Here’s a breakdown of key components:
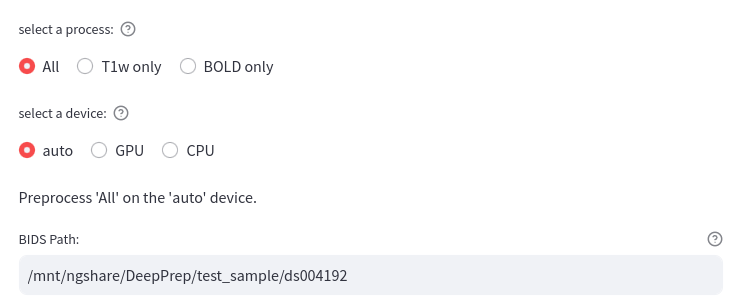
select a process- This section allows users to choose which process to execute. SelectingAllto run the entire DeepPrep pipeline (both anatomical and functional). SelectingT1w onlyto run the anatomical part. To run functional part only by selectingBOLD only, make sure you have the preprocessed recon data ready and input the path in theRecon Result Pathsection.
select a device- Indicating the device you would like to use by selectingGPUorCPU. The default isauto, which will automatically selects a device for execution.
BIDS Path- The path to the input dataset, which is required to be in a standard BIDS format.
output Path- The path to save the preprocessed results, which will be saved in a standard BIDS format.
Recon Result Path (optional)- This section is mandatory only if the user selectsBOLD onlyin theselect a processsection. Otherwise, it can be left blank. The default path for storing the results of anatomical data is<output_dir>/Recon.
FreeSurfer license file path- We highly recommend that users replace the default FreeSurfer license file with their own. You can download it for free from https://surfer.nmr.mgh.harvard.edu/registration.html
BOLD task type- The task type of the BOLD data. If there are multiple types (i.e. rest and motor), quote all the types and separate them with spaces like'rest motor'.
CIFTI format- Selecting this section to have outputs in cifti format.
select the surface spaces: (optional)- Selecting all the surface spaces you would like to have, the default isfsaverage6, other available options arefsnative,fsaverage3tofsaverage5.
select a normalized volume space: (optional)- Selecting a standard volume space, the default isMNI152NLin6Asym.
skip n frames of BOLD data- The number of frames you would like to skip in the BOLD data; the default is2.
After you fill out this page, a docker command will be automatically generated at the end of this page. Click Run to execute this command.
Warning
DO NOT LEAVE THIS PAGE UNTIL THE PROCESS IS FINISHED!
Postprocessing of BOLD
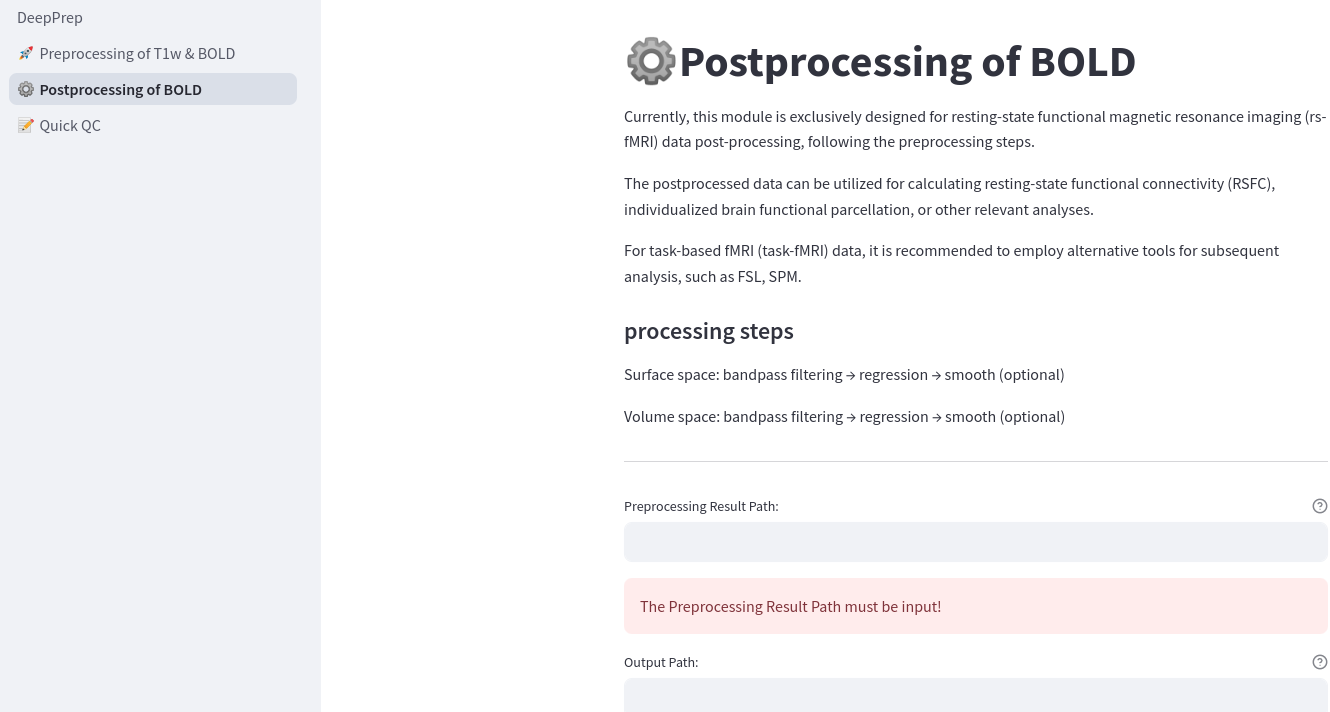
At present, this program is designed to process resting-state functional magnetic resonance imaging (rs-fMRI) data. The processed data can be utilized for calculating functional connectivity (FC) maps, individualized brain functional parcellation, or other relevant analyses.
For task-based functional magnetic resonance imaging (task-fMRI) data, it is recommended to employ alternative tools for subsequent analysis, such as Statistical Parametric Mapping (SPM).
processing steps:
Surface space: bandpass filter -> regression -> smooth (optional)
Volume space: bandpass filter -> regression -> smooth (optional)
Main Interface Overview
Upon launching, you will see the main interface.
Here’s a breakdown of key components:
Preprocessing Result Path- The path to the preprocessed files, which are saved in a standard BIDS format by default.
Output Path- The path to save the postprocessed results, which will be saved in a standard BIDS format.
FreeSurfer license file path- We highly recommend that users replace the default FreeSurfer license file with their own. You can download it for free from https://surfer.nmr.mgh.harvard.edu/registration.html
Confounds File Path- A text file listing all the confounds names to be used in regression. Feel free to replace this with your own list of confounds.
BOLD task type- The task type of the BOLD data. If there are multiple types (i.e. rest and motor), quote all types and separate them with spaces, like'rest motor'.
skip n frames of BOLD data- The number of frames you would like to skip in the BOLD data; the default is2.
fwhm- The smooth kernel in mm.
bandpass filter- The default range is0.01-0.08.
After you fill out this page, a docker command will be automatically generated at the end of this page. Click Run to execute this command.
Warning
DO NOT LEAVE THIS PAGE UNTIL THE PROCESS IS FINISHED!
Quick QC
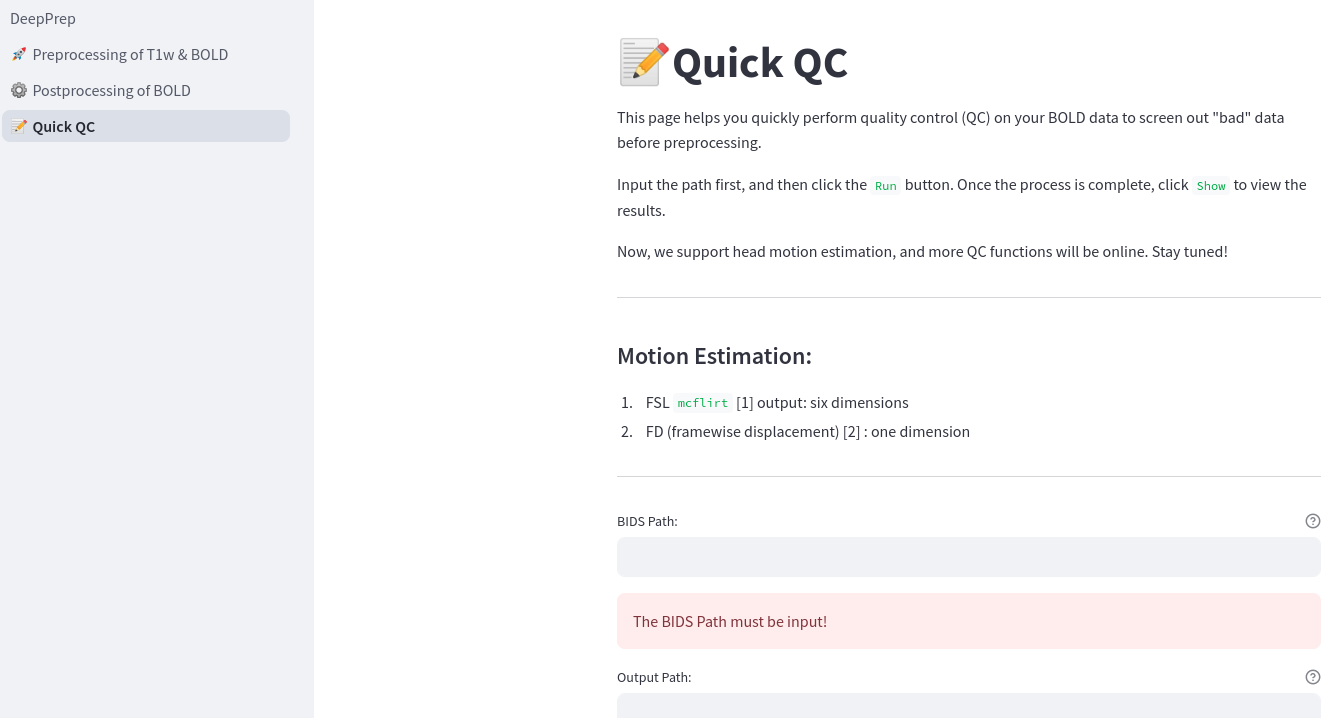
This page allows you to quickly perform quality control (QC) on your BOLD data.
Input the path first, and then click the Run button. Once the process is complete, click Show to view the results.
More QC functions will be online, stay tuned!
Main Interface Overview
Upon launching, you will see the main interface.
Here’s a breakdown of key components:
BIDS Path- The path to the input dataset, which is required to be in a standard BIDS format.
Output Path- The path to save the quick QC results.
FreeSurfer license file path- We highly recommend that users replace the default FreeSurfer license file with their own. You can download it for free from https://surfer.nmr.mgh.harvard.edu/registration.html
After you fill out this page, a docker command will be automatically generated at the end of this page. Click Run to execute this command.
Warning
DO NOT LEAVE THIS PAGE UNTIL THE PROCESS IS FINISHED!
Congratulations! You are all set!